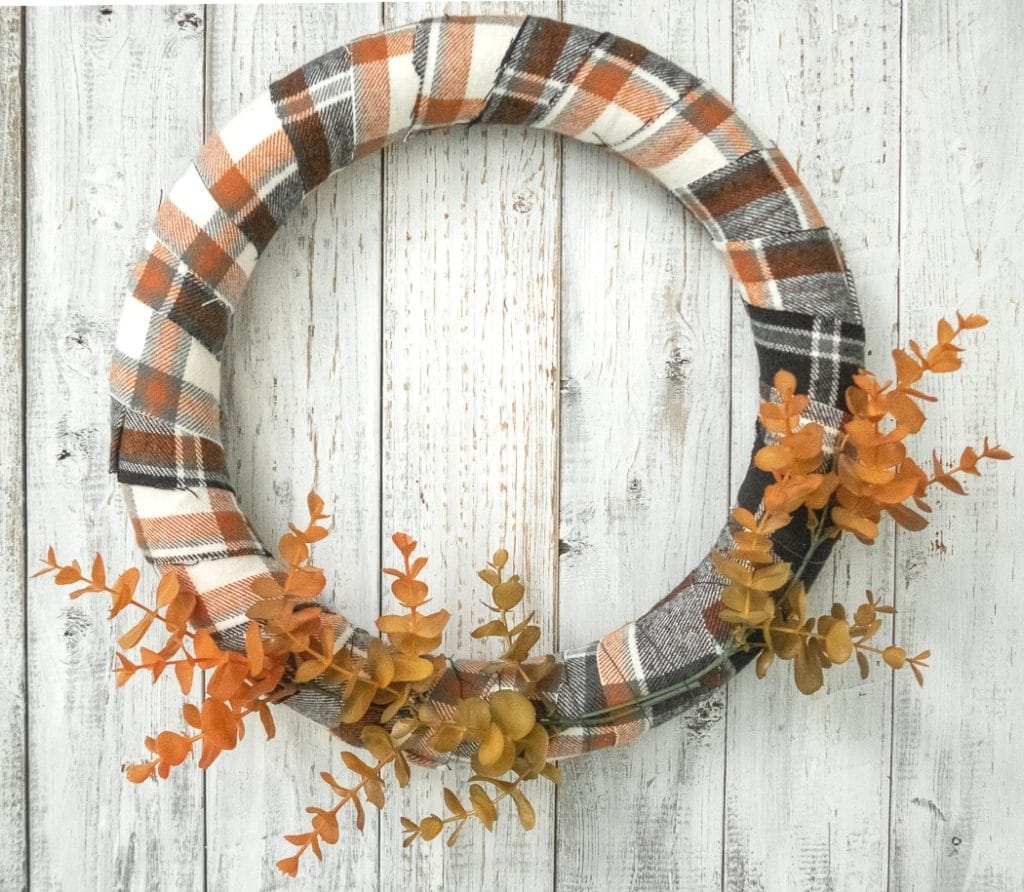
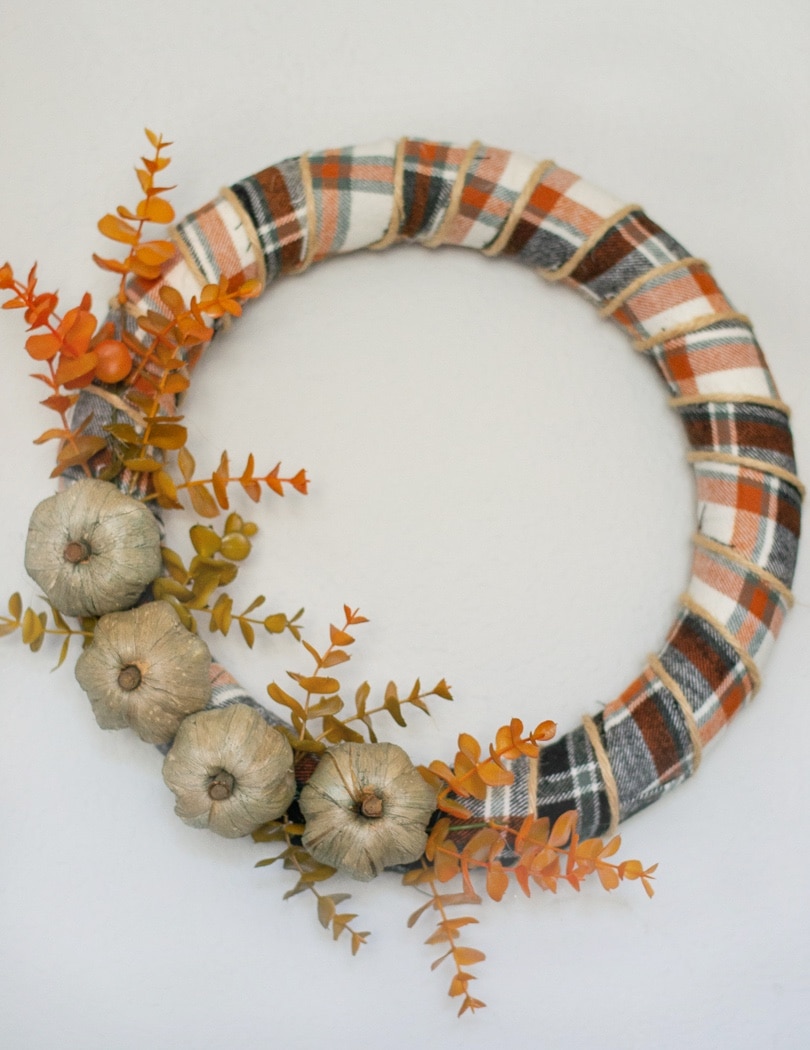
Have you been looking for a fall wreath and none of them have really done it for you? Or maybe you have but it costs way too much? It might be time to consider making your own. This wreath can be made with minimal tools and supplies and very little time. Learn how to make it, and how to save money on the supplies.
[su_highlight background="#afbcb2" color="#FFFFFF"]Materials Needed: 8 | Cost: $15 | Difficulty: Easy [/su_highlight]
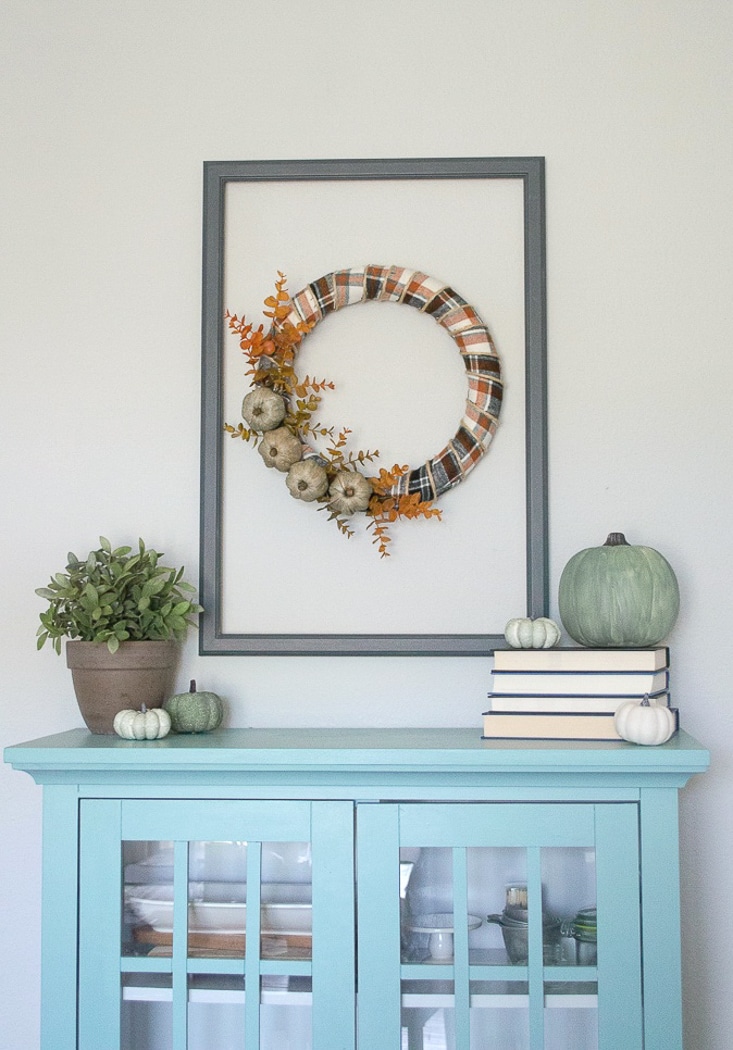
HOW TO MAKE A FARMHOUSE FALL WREATH IN 15 MINUTES
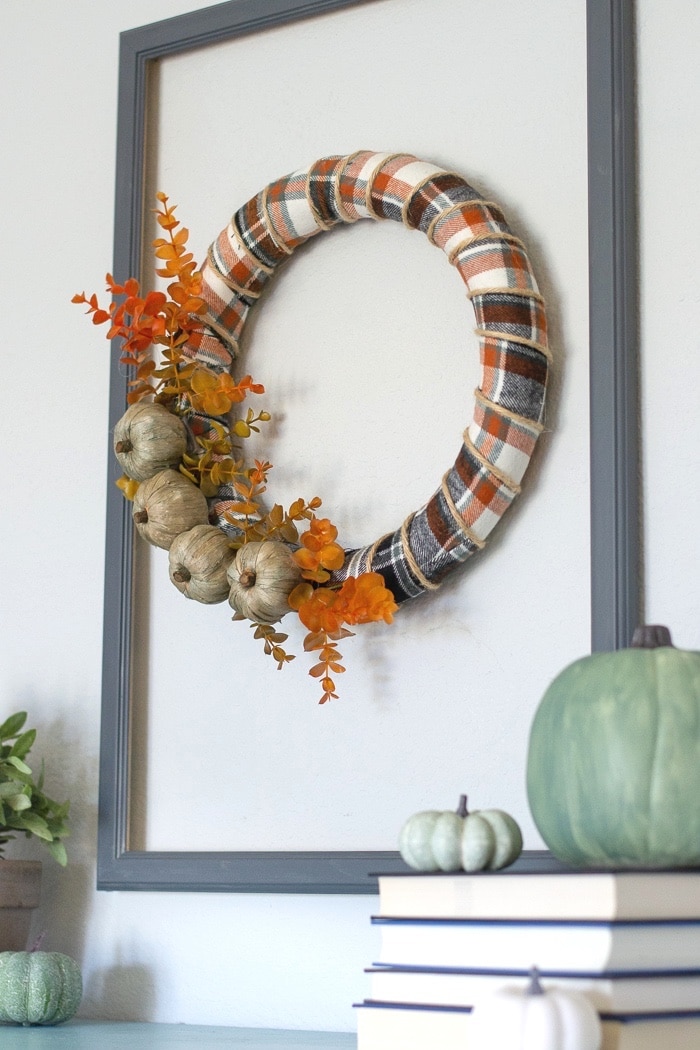
I definitely had a hard time finding any wreaths that were my jam for anywhere close to under $20. Sooo I took a look through my craft closet and the craft store sales ads and came up with this wreath that I LOVE.
I had some remnants from my fall plaid pillow covers. I also found some pumpkin stems for like $8 for 8 at Marshall's. The Eucalyptus bush is form Michael's and I scored it for about 70% off ($5). I was still able to make a full floral arrangement from these materials after the wreath was done.
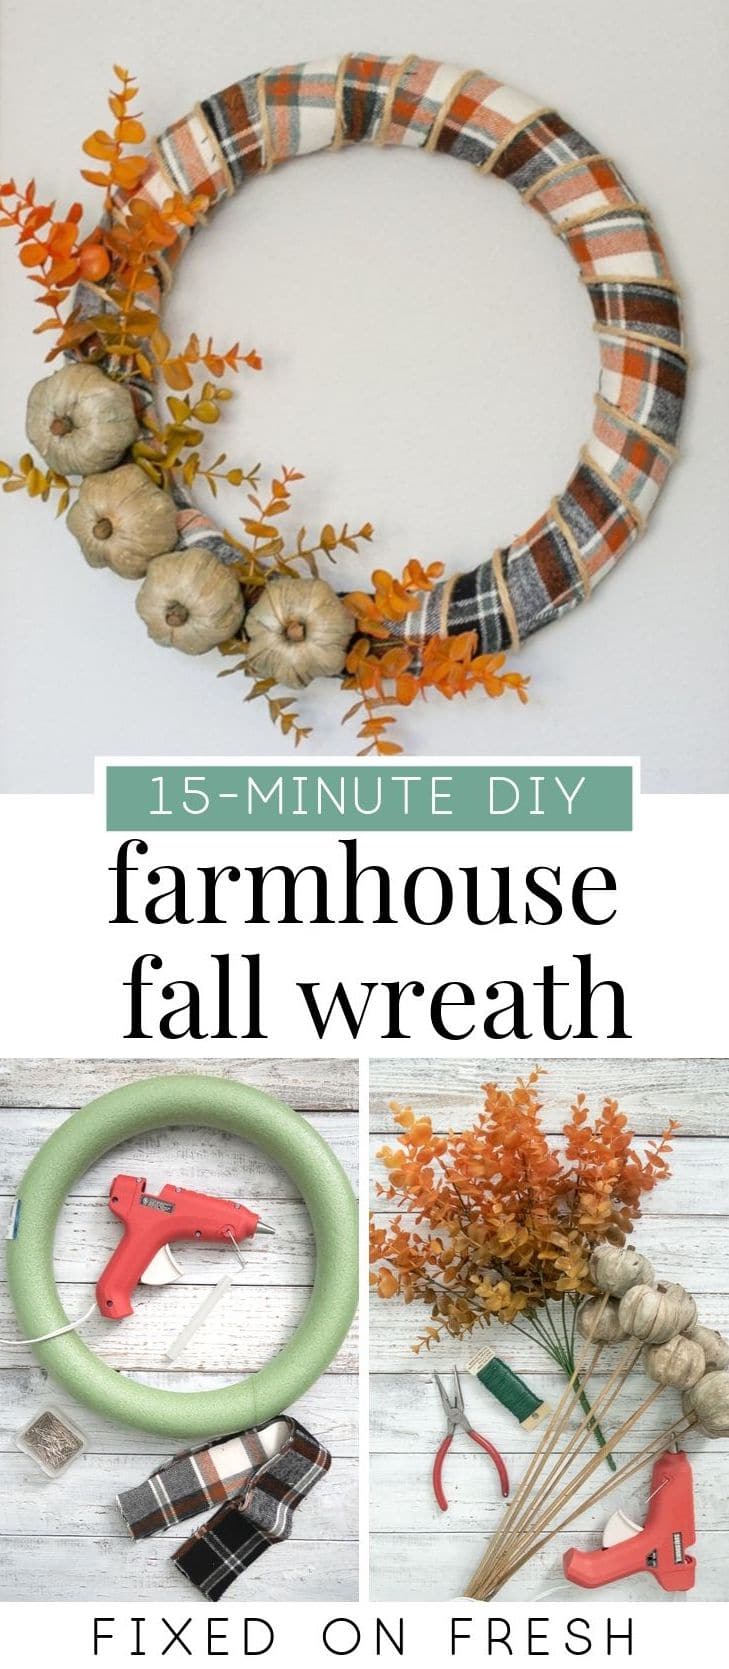
MATERIALS NEEDED
(for some ideas on how to get these materials cheaper, scroll on down to the bottom)
- 14" styrofoam wreath form
- 13' of 2" ribbon or fabric cut into 2" strips (I used remnants from an old project)
- (8-10) dressmaker pins
- Glue gun and glue sticks
- (2) picks or stems of orange eucalyptus (I cut two stems off the bush shown below)
- Floral Wire (26g) + Wire cutters
- (4) 3" styrofoam or wicker pumpkin picks (I used 4 of a pack of 8)
- 8 feet of 4mm jute twine
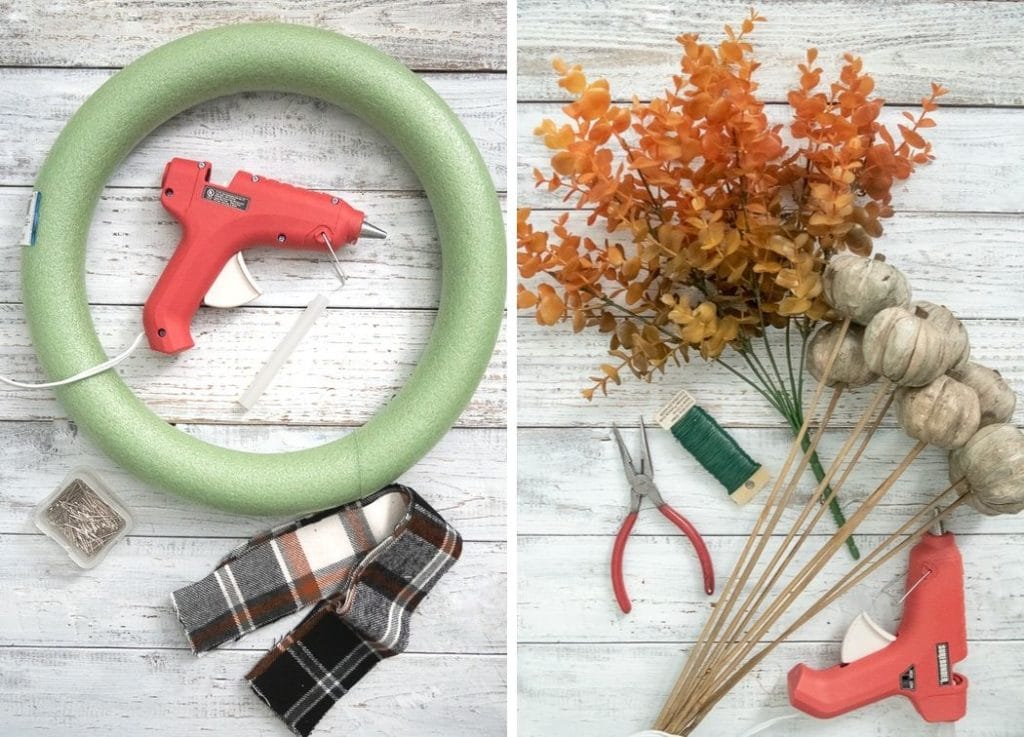
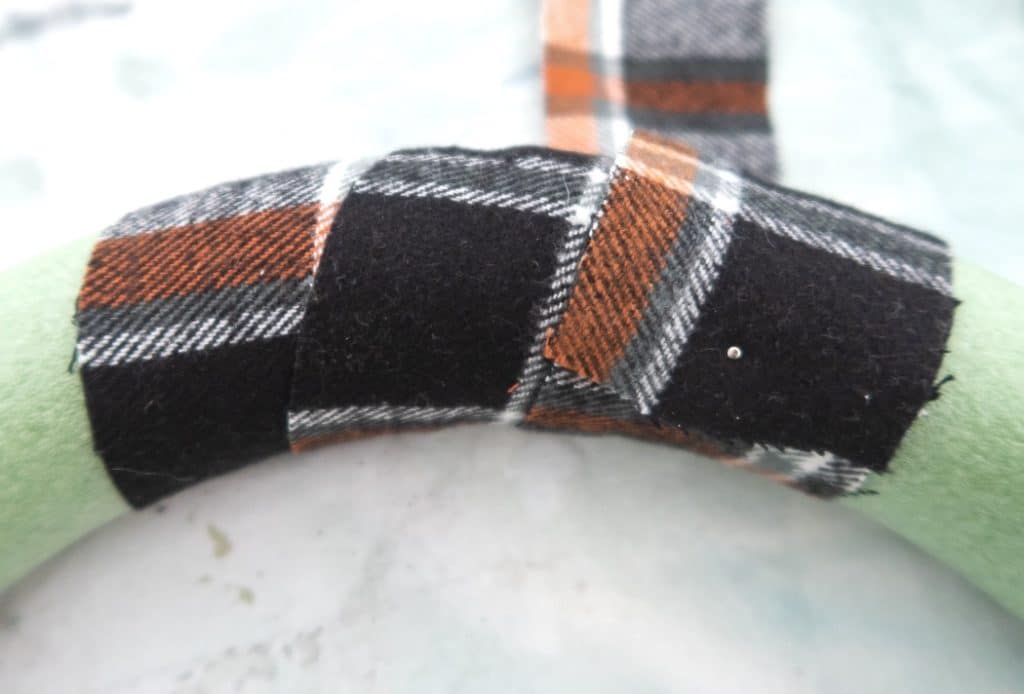
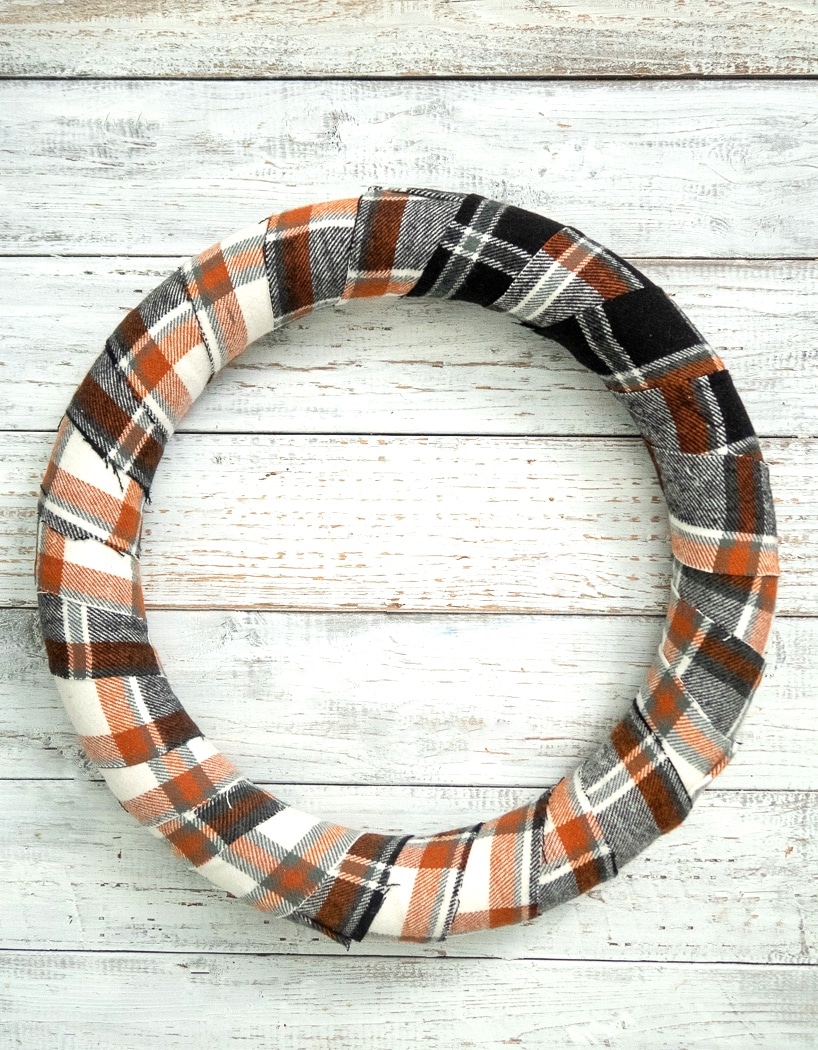
[su_highlight background="#e7efef"]STEP 1: WRAP THE WREATH[/su_highlight] Tack in the ribbon or fabric using 1 of the pins and continue to wrap all the way around, using pins every few wraps to secure the fabric, until the entire wreath is covered.
[su_highlight background="#e7efef"]STEP 2: ATTACH THE EUCALYPTUS [/su_highlight] Bend the stems to contour the wreath and attach them, one at a time, using 24-26g floral wire. Be sure to leave a gap between the leafy sections to fit at least 2 of your pumpkins and then the others can go amongst the leaves.
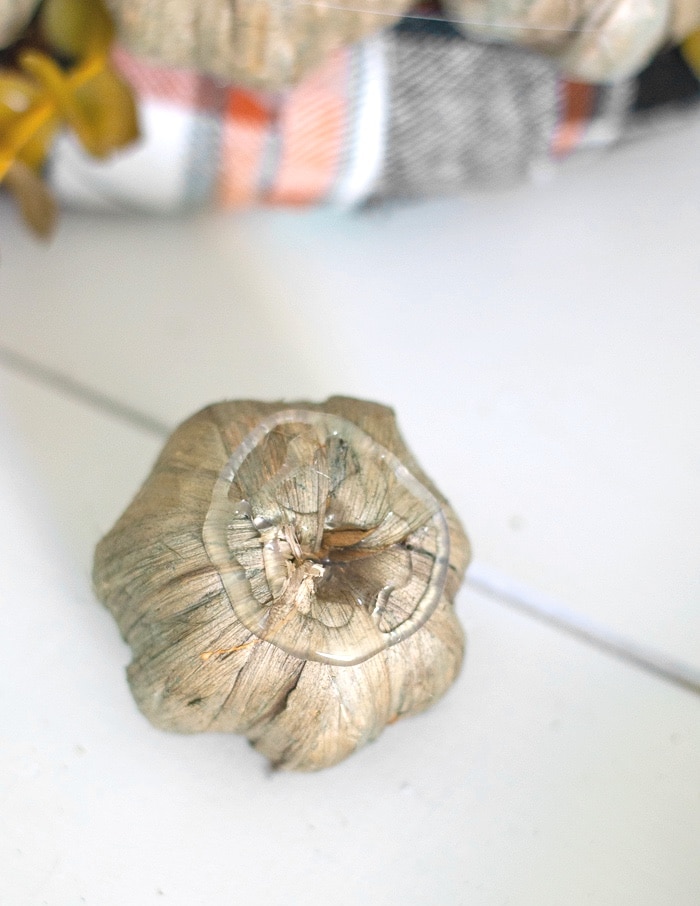
[su_highlight background="#e7efef"]STEP 3: GLUE ON THE PUMPKINS [/su_highlight] Use a generous amount of hot glue to attach the pumpkins to the wreath. hold each pumpkin down for about 20 seconds to let the glue dry a bit. After they've all dried fully, go back at add more glue to any loose spots.
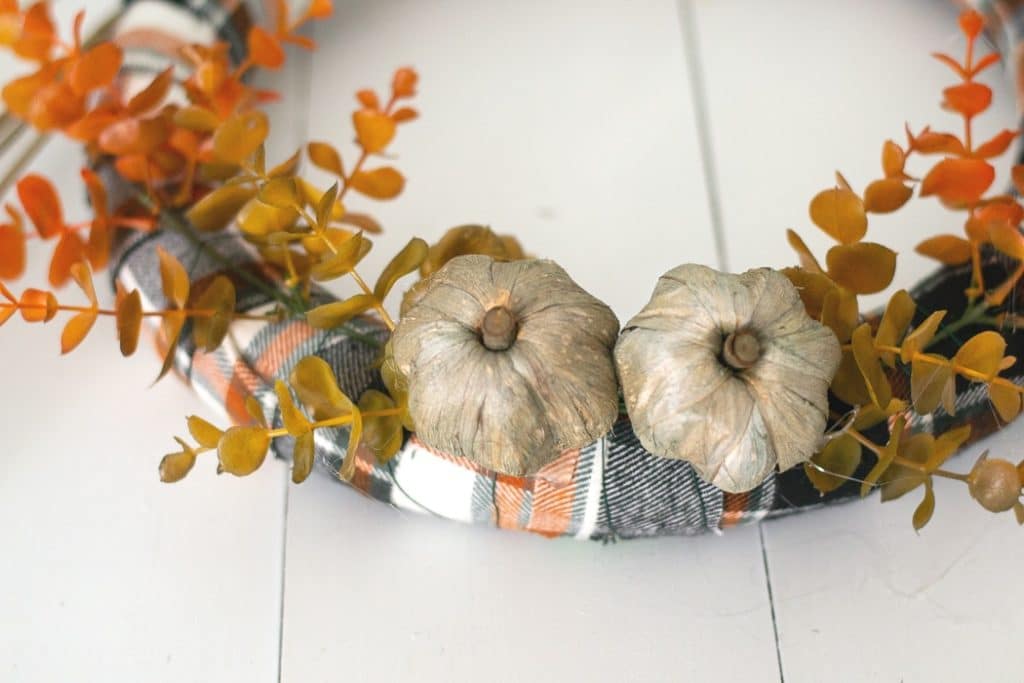
[su_highlight background="#e7efef"]STEP 5: ATTACH THE TWINE [/su_highlight] Tie a knot about 1 inch from the end of the twine. This will prevent raveling and allow the glue to hold on to something sturdy. Starting just outside where the pumpkins are glue, hot glue the knot to the back of the wreath along the edge of the ribbon.
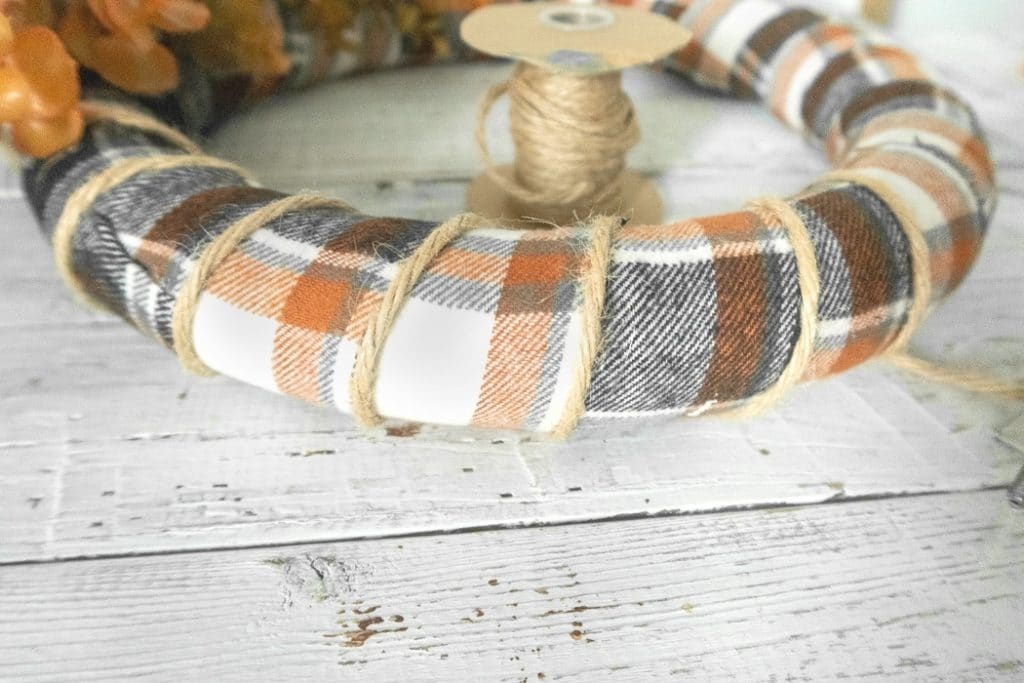
Continue to wrap the twine along the ribbon edges. Add another dot of glue to the back side every 2-3 wraps to secure it. Once you've reached just outside the edge of the pumpkins on the other side, cut the twine and knot it. Place one more dot of glue on the back to secure the end of the twine.
TIPS TO MAKE THIS ON A BUDGET
[su_highlight background="#e7efef"]TIP #1: USE COUPONS! [/su_highlight] Here are the coupons I used for this project:
- Michael's 50% off 1 regular priced item on the wreath form (bringing it to $3)
- Michael's additional 20% off sale items on the eucalyptus (already 50% off, bringing it to $5)
[su_highlight background="#e7efef"]TIP #2: USE WHAT YOU ALREADY HAVE [/su_highlight] As I mentioned, I used fabric (that was 50% off) from a previous project, just scraps that I was too cheap to throw away. See what fabrics you have leftover that would work!
[su_highlight background="#e7efef"]TIP #3: SHOP SALES [/su_highlight] The good thing about this being seasonal is you can get all this on crazy sale. Hobby Lobby (great place for the pumpkins), Joann, and Michaels all have crazy sales and coupons. Don't you dare pay full price!


Leave a Reply